If you’re eager to indulge in the art of pour over coffee but lack a digital scale, don’t worry—you can still achieve a superb cup. In this guide, we’ll walk you through straightforward steps on how to make pour over coffee without a scale, by measuring coffee and water using visual cues and common household items. Brewing pour over coffee without a scale is about intuition and enjoying the process; let’s dive into how to make it happen, simply and satisfyingly.
Key Takeaways
- You can make fantastic pour over coffee without a scale by using simple volume-based measurements and standard kitchen tools, while paying particular attention to the consistency of the coffee grind and brewing water temperature.
- Developing an intuitive understanding of the coffee-to-water ratio and adjusting to personal taste is key; start with recommended measures like two leveled tablespoons per cup of water and then tweak based on the resulting flavor.
- The intricacies of the pour over technique, including the bloom stage and controlled pouring, are crucial to the quality of the brew; fine-tuning these aspects over time leads to a richer and more satisfying coffee experience.
Essentials for Scale-Free Pour Over Coffee
Pouring over the possibilities of scale-free coffee brewing, one might wonder where to begin. The essentials are simpler than you might think:
- A trusty pour-over coffee dripper
- Cone filters
- An electric kettle
- Whole bean coffee
- Quality water
Some may view a kitchen or coffee scale as a non-essential gadget, particularly if you’re just dipping your toes into the home brewing scene. Yet, the secret to a heartwarming cup lies not in high-tech tools but in embracing the brewing process with what you have at hand.
Transitioning into a scale-free approach requires a touch of ingenuity and a dash of resourcefulness. Let’s delve into the trifecta of essentials: the beans, the gear, and, of course, the water. Each plays a pivotal role in crafting a brew that’s as delightful as any meticulously weighed and measured concoction.
Selecting Quality Coffee Beans
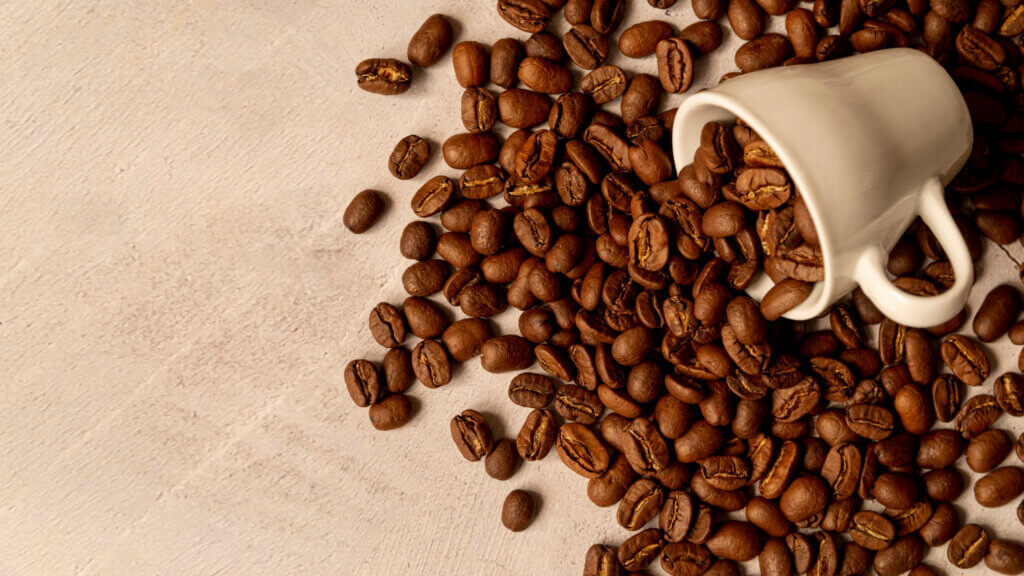
The quest for great coffee starts with the beans. Opt for whole bean coffee to capture the freshest flavors, as these little marvels lock in their taste and aroma far better over time compared to their ground counterparts. When a scale is out of reach, use pre-ground coffee as a visual guide for bean-to-ground ratios, ensuring your brew coffee is on point, even without the precise measurements of a coffee scale.
Picture this: a handful of whole coffee beans, rich in aroma, just waiting to be transformed into your morning elixir. By starting brewing with whole beans, you’re not just making coffee without a scale; you’re embarking on a sensory adventure that fine-tunes your connection to the craft. Each bean coffee is a promise of a delightful brewing process, one that ultimately leads to a cup of great coffee.
The Right Equipment
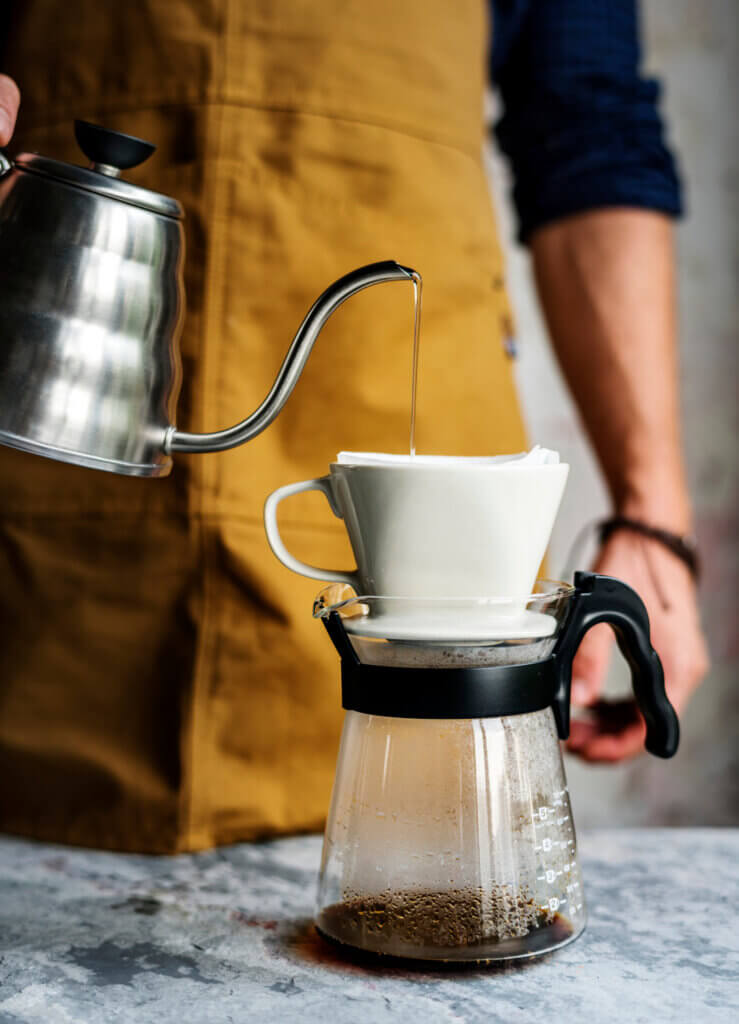
Now, let’s talk gear. A good starting point is to gather all the tools for a successful brew: a dripper, a filter, and a carafe or mug to catch the golden drops of coffee. While a gooseneck kettle is lauded for its precise measurements and control, a regular kettle can still stand in as a worthy understudy with a careful hand,. Should you find yourself without a specialized coffee dripper, fear not! A small colander or a perforated bowl can be your ally, ensuring proper water distribution over the grounds.
As you assemble your coffee equipment, consider it more than just tools—it’s your personal brewing ensemble. Each piece, whether a perfectly-designed dripper or a makeshift alternative, plays a role in the symphony that is the brewing process. With these in hand, you’re well on your way to create pour over coffee that sings with flavor.
Water: The Unsung Hero
Let’s not forget about water—the element that can make or break your final brew. Not everyone has a measuring cup with volume lines, but a standard 12 oz mug filled to the brim can be an excellent proxy for the water ratio needed for brewing,. When it comes to heating, aim for at least 600 grams (20 oz) of water to a rolling boil before you start pouring. Remember, the right amount of hot water is crucial for coaxing out the flavors from the grounds for that perfect cup.
Water, in its simplicity, holds the power to transform ground coffee into a potion of pleasure. As you measure and heat, consider the water’s journey from tap to kettle to coffee—the silent conductor of the brewing orchestra. With the right water ratio and temperature, the stage is set for a brew that’s harmonious and satisfying.
Precision Measuring Without Precision Tools
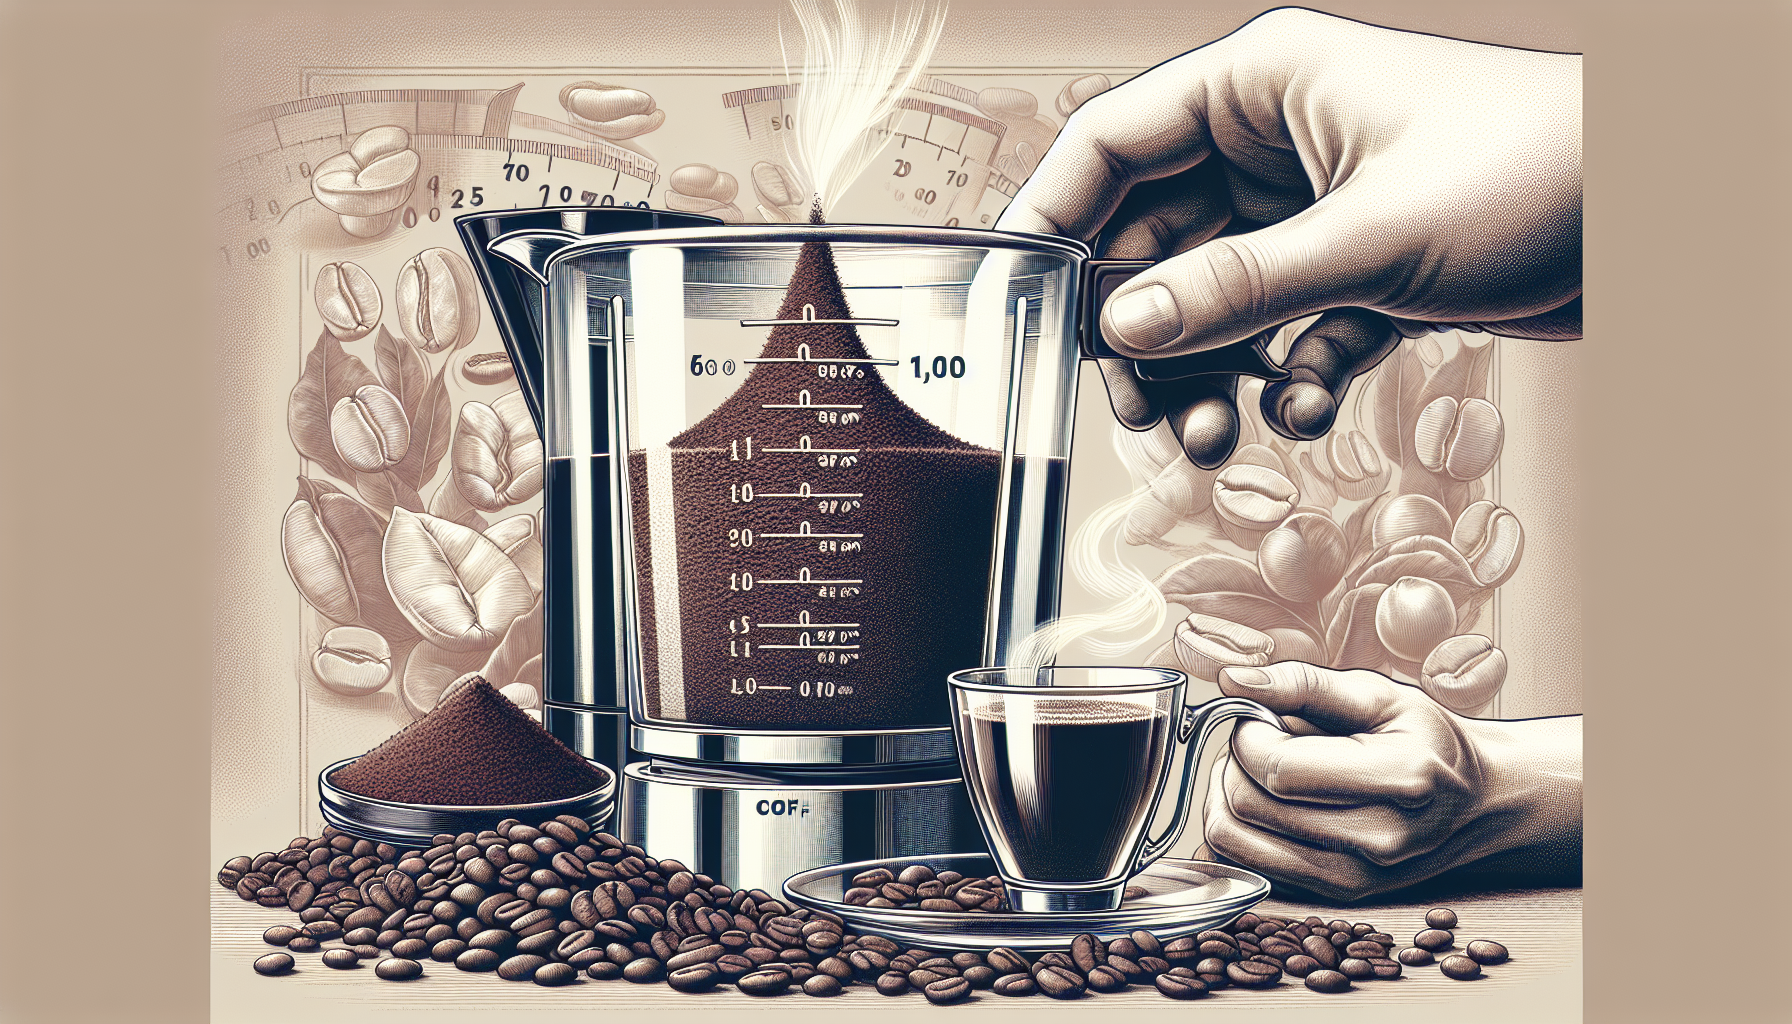
So you’re ready to brew coffee without a scale, but how do you ensure that your measurements are precise enough to produce that golden ratio for brewing coffee? Fear not, for a bigger measuring cup isn’t the only answer. Embrace a bit of coffee alchemy with volume-based measurements—a leveled tablespoon here, a mug filled there—and you’re well on your way,. While it may not match the precision of all the tools in a barista’s arsenal, it’s a step towards a consistently satisfying cup of coffee.
The golden ratio, that sweet spot of coffee perfection, typically dances between 1 gram of coffee to 15-18 grams of water. But without a scale, this can seem like a treasure hunt without a map. Use common kitchen items as your compass. A tablespoon of coffee beans is your landmark, and your senses are your guide. As you measure and brew, you’ll develop an intuition that no scale can teach.
Coffee Grounds Estimation
Estimating coffee grounds can seem as daunting as predicting the weather, but with the right tools and a little practice, you’ll be forecasting a delicious brew with ease. Two leveled tablespoons of ground coffee per standard cup of water is a reliable starting point, roughly equating to about 14 to 15 grams of coffee. For those who prefer their coffee with a bit more kick, begin with 4 tablespoons for every 400ml of water and adjust from there.
Remember, a tablespoon of coffee beans or grounds isn’t a universal constant—it varies with the roast level and grind size. If you’re without a tablespoon, use visual cues and make a mental note of the measurements that brought you the most enjoyment. Over time, these ‘recipes’ will form the backbone of your brew routine, allowing you to recreate that great coffee time and again.
Water Volume Mastery
Wielding mastery over water volume is akin to a magician perfecting their signature trick. You can measure water for brewing coffee using cups, mason jars, or any kitchen vessel that speaks to you. A full 12-ounce mug provides a handy alternative measurement, promising a brewed coffee level just shy of the rim after the magic of brewing has occurred. If you prefer a stronger brew, consider using about twice the volume of coffee grounds.
When you’re brewing in an auto-drip machine, pour a smidge more water than the coffee level you desire to account for the grounds’ thirst. And let’s talk heat—boiling water to 212 F (100 C) is your ticket to optimal extraction when practicing the pour over method without a scale. With these water volume and temperature tricks up your sleeve, you’re ready to brew a potion that rivals any coffee without a scale.
The Pour Over Process Decoded

Diving into the pour over process is where the magic happens. Here, you have more control over the extraction process, and when done with care, the result is a more flavorful and dynamic cup of coffee that sings with each sip,. It’s where the precision of ground coffee meets the ritual of brewing and where the true essence of the bean coffee is unveiled. This is your stage, your laboratory, where you, the coffee aficionado, become the artist.
To truly master the pour over method, it’s essential to decode each step of the process. From achieving the perfect grind to the art of blooming and the finesse of a controlled pour, each element is a note in the symphony of your final brew. So, let’s fine-tune those skills and start brewing a masterpiece.
Achieving the Perfect Grind
Grind size is the unsung hero of the coffee world, with the power to elevate your brew from mundane to magnificent. For pour over coffee, aim for a consistency that resembles sea salt—fine enough to enhance extraction but coarse enough to allow water to flow freely. The grind size tunes the flavor of your coffee; a finer grind can rescue a weak brew, while a coarser grind can temper bitterness.
If your first cup didn’t quite hit the mark, don’t be disheartened. Adjust the grind size to correct under or over-extraction flavors, and keep experimenting until you strike the perfect balance between brewing time and grind size. Remember, with each adjustment, you’re one step closer to achieving the desired strength and aroma in your coffee.
The Art of Blooming
Blooming is the overture to your pour over performance, setting the stage for the flavors to unfold magnificently. This simple act of saturating coffee grounds with hot water releases trapped gases and sets the foundation for a full-bodied and flavorful cup. Begin your bloom with a gentle spiral from the coffee bed’s center, moving outwards then back in, ensuring every granule of coffee is evenly kissed by the water.
Pause for a moment and observe. The bloom should last between 40 to 60 seconds—a brief interlude where the aroma of brewing coffee begins to fill the air. It’s a sensory experience, a ritual that not only enhances the flavor profile but also connects you to your brew in a way no scale ever could.
Controlled Pouring Technique
The controlled pouring technique is the crescendo of your pour over process, where the water’s dance with the grounds determines the richness of your brew. Start with a gentle spiral, coaxing the water from the center to the edge and back again, creating a slow circular motion. After the blooming act, continue this slow waltz, pouring to the top, allowing for a short drawdown, and then repeating the motion to maintain an even extraction.
As you pour, create gentle turbulence to ensure all the grounds are submerged, a technique that aids in even water distribution and extraction. Employ a timer to perfect your pouring pace, observing the saturation and adjusting based on the drawdown time. With each pour, you’re not just adding water; you’re sculpting the flavor of your coffee, one controlled motion at a time.
Fine-Tuning Your Brew
Achieving the best coffee flavor is a journey of fine-tuning and taste. It’s about small, deliberate changes to the coffee recipe, like playing with the coffee to water ratio or tweaking the grind size. These adjustments are the brushstrokes that bring out the rich tapestry of flavors within your pour over coffee. If the first batch is a tad too weak for your liking, don’t be afraid to incrementally increase the coffee ratio. Trust your palate—it will guide you to the brew that resonates with your taste.
Embrace the coffee alchemist within you. Each brewing session is an opportunity to refine and perfect. Whether it’s a smidgen more bean coffee or a touch less water, these small tweaks culminate in your signature brew—a reflection of your coffee journey and your personal quest for the perfect cup or that ideal espresso shot.
Ratio Refinement
In the pursuit of a consistent cup, the coffee-to-water ratio is your guiding star. The recommended starting point is around 1:15.5, meaning one part coffee to fifteen parts water—a balance that sets the stage for a harmonious brew. However, taste is subjective, and the joy of brewing coffee without a scale lies in finding your unique ratio. If your coffee is too sour, a finer grind may be your remedy; if it’s too bitter, consider a coarser grind to mellow the flavors.
Bear in mind that not all beans are created equal. Variations in bean size and density can influence your volume-based measurements like tablespoons. It may require a few trials to find the sweet spot where the coffee strength aligns with your preference. The process of ratio refinement is both an art and a science, where adjustments are made with a pinch of curiosity and a spoonful of experimentation. So, you might wonder, how many tablespoons should you start with?
Temperature and Time Tweaks
Temperature and time are the twin pillars supporting a well-extracted brew. To unlock the full potential of your brewing coffee, maintain the water temperature between 195 and 205 degrees Fahrenheit for balanced extraction. Beware of the extremes—too hot, and you risk bitterness; too cool, and you’ll get a weak brew. Lighter roasts may yearn for hotter water to fully express their flavors, while darker roasts can be more forgiving.
The timer is your silent partner in this dance of heat and time. The ideal brewing process should hover between 3 to 4 minutes, a window that ensures a well-extracted brew that’s neither over nor underwhelming. As you tweak and tune, remember that these elements are not just tools in your coffee-making arsenal; they are the keys to capturing the very essence of your chosen beans.
Enhancing Your Pour Over Experience

Once you’ve honed the craft of brewing coffee without a scale, there comes a time when you might crave even more depth and precision in your pour-over experience. This is where you can sprinkle in a few advanced techniques and perhaps even consider investing in a scale to truly indulge in the nuances of every bean. However, even without a scale, there are ways to refine your methods further, ensuring each cup you brew is an exhibition of your growing expertise.
Enhancing your pour over experience is not about fancy equipment; it’s about finesse, understanding, and the love of the process. It’s about taking what you’ve learned and pushing it a step further, exploring new dimensions of flavor and perfecting your technique. With each brew, you’re painting a richer picture of the coffee spectrum, one that is distinctly yours.
Filter Finesse
To start, let’s talk about the humble paper filter, a simple yet crucial component in the pour over method. Pre-wetting your filter with hot water is not just a preparatory step; it’s a ritual that ensures any papery taste is washed away, leaving nothing but the pure, clean flavor of your coffee to shine. As you rinse, ensure that the entire surface of the filter is evenly wet, without dry spots, to guarantee a consistent taste with every brew.
This practice, known as filter finesse, is like seasoning your cookware—it enhances your coffee’s flavor while showcasing your attention to detail. Next time you set up your pour-over, remember that this simple act of rinsing is like setting the stage for an excellent pour, one that allows the true character of your beans to come through without interference.
Kettle Know-How
The right kettle can be a game-changer in the pour over process, especially a gooseneck kettle with its elegant spout that allows for precise water flow. The swan neck design is not just for looks—it’s engineered to gently release water at a controlled rate, perfect for evenly saturating your coffee grounds. To achieve balanced extraction, aim to pour about 100 grams of water every 10 seconds, maintaining a steady rhythm that dances with the grounds.
Practice makes perfect, and with a swan neck kettle, it’s no different. Here are some tips to help you pour like a pro:
- Try pouring plain water through an empty dripper to get a feel for the flow.
- Maintain a consistent height of about 8 to 10 inches above the grounds to promote even extraction.
- Consider the direction of your pour for optimal comfort and control during the process.
- Remember, the water level in the kettle affects the pour rate, so keep a watchful eye on it to ensure the flavor of your coffee is spot on.
With these kettle tips, you’re well on your way to a brew that is not just delicious but brewed with deliberate intention.
Advanced Pouring Practices
Beyond the basic pour, there’s a world of advanced pouring practices to explore, each capable of subtly altering the taste and aroma of your final brew. Consistent practice is the key to mastering these techniques, allowing you to develop a pouring style that is as unique as your coffee preference. Drawing from years of making various types of coffee, including pour overs, you can use your experience to guide you in experimenting with different pouring speeds and patterns,.
Don’t hesitate to experiment. Change up your pouring patterns, play with the speed, and watch how these variations affect the drip and the resulting cup. Such experimentation can lead to a more delicious brew, unlocking flavors and aromas you may not have discovered otherwise. It’s this adventurous spirit that will enhance your pour over experience, making each cup a testament to your passion and skill.
Summing It All Up
Mastering the art of pour-over coffee without a scale is an enriching journey that blends intuition with technique. From selecting quality coffee beans and equipping yourself with the right tools to mastering water volume and perfecting the pour, each step brings you closer to that ideal cup. Embrace the process of fine-tuning your brew, and don’t be afraid to enhance your experience with advanced techniques. Regardless of the tools at hand, the true secret lies in the love and care you pour into each step. So go forth, brew with heart, and let each cup be a reflection of your newfound artistry.
Frequently Asked Questions
Can you use a Chemex without a scale?
Yes, you can use a Chemex without a scale by measuring 2 level tablespoons of coffee for every 6 oz of water and adjusting the ratio to taste.
What is the ratio of coffee to water without a scale?
You can use a 1:15.5 ratio of coffee to water as a starting point for brewing pour-over coffee without a scale, and adjust to 1:14 or 1:18 based on your preference.
How important is the water temperature for pour-over coffee?
Maintaining the water temperature between 195 and 205 degrees Fahrenheit is crucial for optimal extraction in pour-over coffee. This range helps avoid bitterness from being too hot or a weak brew from being too cool.
Is a special pour-over kettle necessary, or can I use any kettle?
You can use any kettle with a careful pouring technique, but a gooseneck kettle is recommended for better control and precision. Practice pouring water to hone your controlled flow!